


I really think it turned out amazing. The pieces we created for this mock wedding were:
SAVE THE DATE
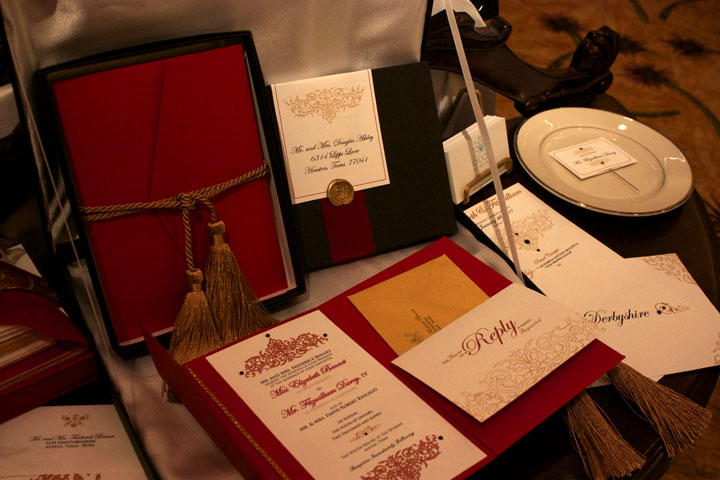
A Save The Date was created as a flat card adorned with a single gem and paired with a matching envelope addressed with return address and recipient's address.


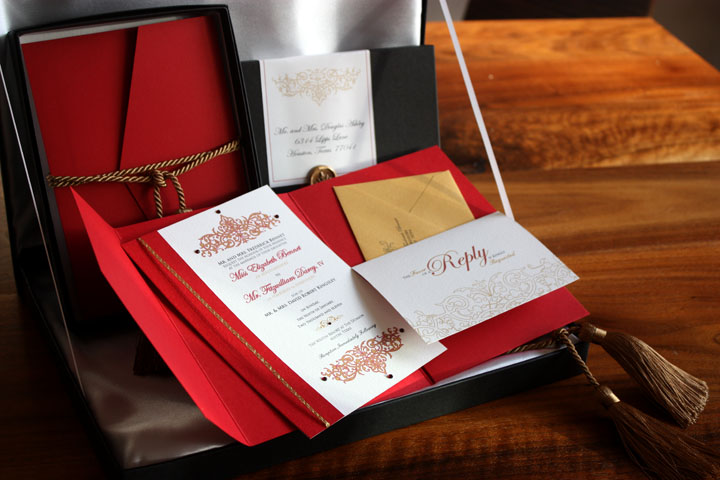
INVITATION
A 5x7 invitation sent in a black invitation box wrapped with a red velvet ribbon, white label and sealed with a crown-wax-seal. Upon opening the box the recipient finds a red envelopment tied closed with a gold cord and tassel. Inside the envelopment is a white textured invitation adorned with an embossed red paper, fine gold-chain-like-ribbon, and ruby red gems. The RSVP is a folded response card hanging over the envelopment pocket and paired with a gold stardream envelope, printed with both return address and address.


ESCORT/DANCE CARDS
The escort cards doubled as a dance card, which was common in the 1800s at any formal affair where dancing was involved. These small folded cards hang from decorative tacks, within an ornate blac
k frame backed with red velvet. Each card is adorned with a gold cord and ruby red gems. The bride and groom each were given a dance card as well. The bride's card is adorned with a long ribbon, matching the invitations, that can hang on her wrist throughout the evening. The groom's card is adorned with a gold tassel and cord to be worn in his coat pocket.


PLACE SETTINGS AND EXTRAS
Each place setting has a menu adorned with ruby red gems and a place card adorned with gems on top of a petit four. Each table has a place card also adorned with gems. Extra signage was designed for the gift card box as well as an instructional sign for the escort card board. Favor tags were created to tie the design into small chocolate boxes.


Here are some images after set up on Saturday and a few quick phone shots from Sunday. I hope to have some more images of the complete event soon.


This stationery package is fit for a king and queen! Thank You to Valerie again for the opportunity!


